
How To Press Flowers: An Easy Step-by-Step Guide
By Singapore Florist Editorial TeamPressing flowers is a fantastic way to preserve their natural beauty, allowing you to create stunning keepsakes or decorative pieces.
Whether preserving a bloom from a cherished memory or simply enjoying a new hobby, flower pressing is an easy and rewarding craft. This article provides an easy and straightforward, step-by-step guide to help you learn how to press a flower and create lasting mementoes.
What You’ll Need For Press Flowers
Before you begin, gather these items:
- Fresh flowers or leaves: Choose blooms that are not too thick or moist.
- Absorbent paper: Blotting, parchment, or coffee filters work well.
- Heavy books or a flower press: For applying pressure.
- Tweezers: To handle delicate flowers.
- Optional: Glue and decorative materials: If you plan to use pressed flowers in crafts.
Step 1: Select The Right Flowers
Not all flowers are equally suitable for pressing.
Look for naturally flat flowers, such as pansies, daisies, or violets. These types of flowers require minimal preparation and produce the best results when pressed. Flowers like lavender and fern leaves are also excellent options due to their natural flatness and unique textures.
Some extra steps are needed for thicker flowers like roses or marigolds. Gently remove a few petals to flatten the bloom before pressing.
Alternatively, you can press the individual petals instead of the entire flower to achieve better results. It’s also essential to pick freshly bloomed flowers, as older blooms may be more brittle and prone to discolouration.
Step 2: Prepare The Flowers

Once you’ve selected your flowers, follow these steps.
Make sure the flowers are completely dry and free from moisture: Moisture can lead to mould or uneven drying, so pat them gently with a paper towel if needed.
Trim any excess stems or leaves: This helps the flowers lie flat and ensures only the parts you wish to preserve are included.
Arrange the blooms carefully: Lay the flowers in your desired position to ensure they maintain their natural shape. Avoid overlapping petals or leaves for best results.
Use tweezers for adjustments: Delicate petals can be easily damaged. Tweezers allow you to precisely position and balance the blooms, influencing how they appear once pressed.
Step 3: Choose Your Pressing Method
There are several ways to press flowers, depending on the tools and time you have available:
Method 1: Using Heavy Books
- Place a sheet of absorbent paper inside a heavy book.
- Lay the flowers flat on the paper, ensuring they do not overlap.
- Cover them with another sheet of absorbent paper to prevent ink transfer.
- Close the book and add more heavy books to increase the pressure.
- Leave them undisturbed for 1-2 weeks, checking occasionally.
Method 2: Using a Flower Press
- Arrange the flowers between a layer of absorbent inside the flower press.
- Tighten the screws or clasps to apply even pressure.
- Wait 1-2 weeks for the flowers to dry completely.
Method 3: Microwave Pressing
- Place the flowers between absorbent paper and insert them into a microwave-safe pressing device (or a DIY press using ceramic tiles).
- Microwave on low heat for 30 seconds to 1 minute.
- Check frequently to avoid over-drying or burning.
- Allow the pressed flowers to cool completely before handling.
Step 4: Wait And Monitor
Patience is key. If you’re not using the microwave method, it's important to leave the flowers undisturbed while they dry.
Check occasionally for signs of mould, and replace the paper if it feels damp.
Step 5: Remove And Preserve

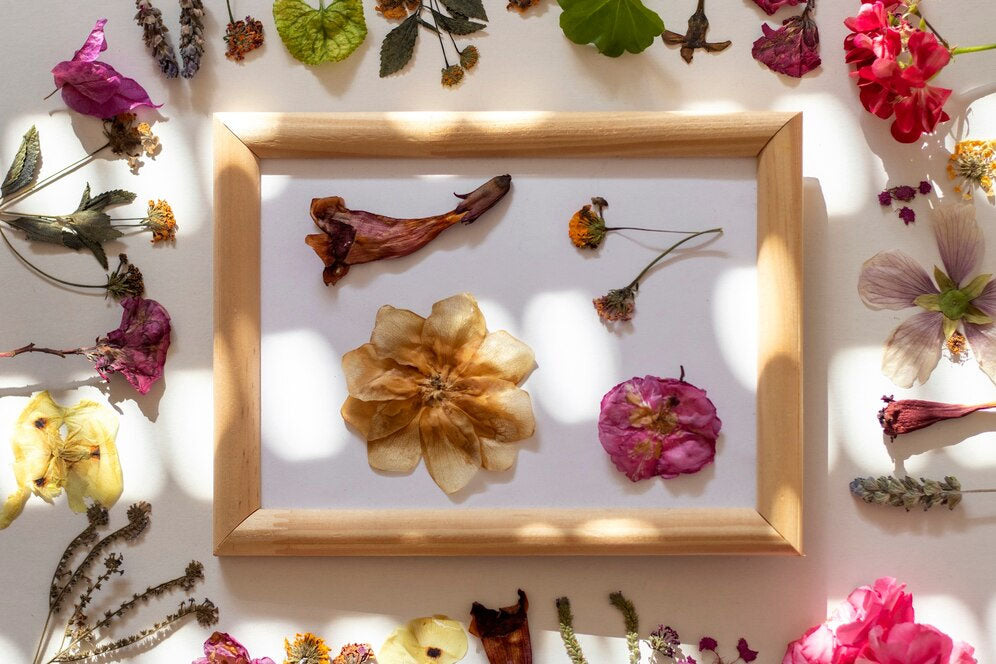
Once the flowers are dried, carefully remove them using tweezers to avoid tearing delicate petals. Your pressed flowers are now ready for crafts, framed art, or other creative projects.
Creative Application For Pressed Flowers
Greeting Cards
Glueing pressed flowers onto the front or inside of cards can add a personal touch. They can turn simple notes into beautiful, thoughtful gestures.
Bookmarks
Create customised bookmarks by laminating pressed flowers between transparent plastic sheets or placing them on sturdy card stock. These make lovely gifts for avid readers.
Scrapbooks
Preserve memories by adding pressed flowers to scrapbook pages, complementing photos or written entries.
Gift Wrapping
Pressed flowers can embellish wrapping paper or gift tags, making your presents stand out with a natural, handmade touch.
Decorative Glassware
Apply pressed flowers to vases, jars, or glasses using decoupage techniques to create charming household items.
Conclusion On How To Press Flower
Pressing flowers help preserve the natural beauty of blooms and transform them into lasting keepsakes.
The creative possibilities are endless, from delicate bookmarks to stunning wall art. Following this guide, you can enjoy crafting with pressed flowers and creating unique pieces for yourself or loved ones.
If you’re looking to explore more floral options or complement your pressed flower projects, consider using the best dried flowers Singapore has to offer.
Singapore Florist provides a wide range of beautiful options for fresh blooms or floral arrangements. Visit their website at Singapore Florist for inspiration and quality flowers for every occasion.
Frequently Asked Questions About How To Press Flower
What Are The Best Flowers To Press For Beginners?
Beginners should start with small, flat blooms like pansies, daisies, and ferns, as they are easy to press and dry quickly.
Should You Trim Stems Before Pressing Flowers?
Yes, trimming stems makes the flowers easier to press and prevents uneven results.
Are There Fast Ways To Press Flowers Without Losing Quality?
Microwave pressing is quicker, but care must be taken to avoid over-drying or burning.
How Do You Handle Fragile Pressed Flowers Without Breaking Them?
Use tweezers and a gentle touch to minimise the risk of damage.
What Are The Best Tools For Pressing Large Quantities Of Flowers?
A large flower press or a stack of heavy books with plenty of absorbent paper is ideal.
Are Pressed Flowers Safe For Children’s Crafts?
Absolutely. Pressed flowers are safe, but supervision is recommended due to their fragility and the use of tools like tweezers.


